DIY: Building Rustic Stone Stairs for Your Hardscaping

Introduction
Enhancing your outdoor space with rustic stone stairs not only adds functionality but also imparts a timeless aesthetic that blends seamlessly with natural surroundings. This guide provides a comprehensive overview of constructing your own stone staircase, ensuring durability and visual appeal.
Planning Your Rustic Stone Staircase

Before embarking on building rustic stone stairs, meticulous planning is essential. Begin by assessing the slope and terrain where the stairs will be installed. Determine the total rise (vertical height) and run (horizontal length) to calculate the number and dimensions of steps required. A standard comfortable step typically has a rise of about 6 to 7 inches and a run of 12 to 18 inches. Adjust these measurements based on the natural lay of the land and the size of the stones available.
Selecting Appropriate Materials
Choosing the right materials is crucial for both the durability and aesthetics of your staircase. Opt for locally sourced natural stones, such as granite, limestone, or fieldstone, which are well suited to the San Francisco Bay area's climate. These stones not only withstand weather variations but also harmonize with the local landscape. Incorporating reclaimed wood or logs can add a rustic charm and contrast to the stone elements.
Essential Tools and Equipment

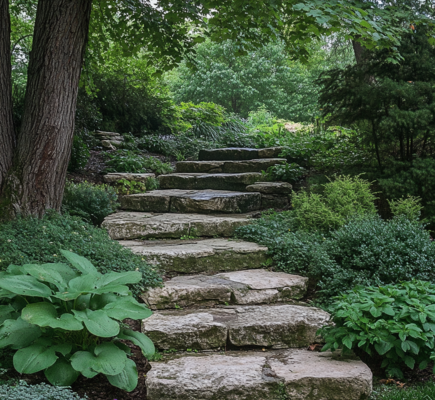
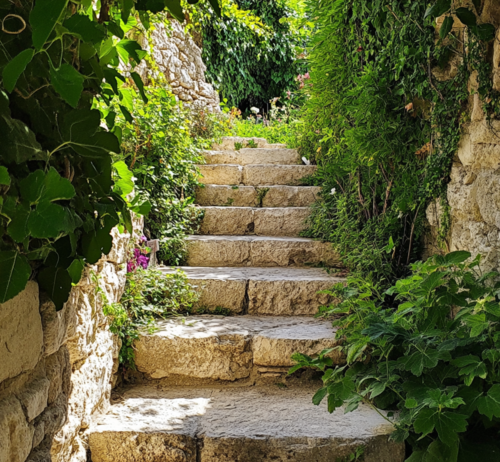
A Timeless Rustic Stone Staircase Blending Seamlessly with Nature
Gathering the appropriate tools will streamline the construction process. Essential tools include:
- Measuring tape
- Mason's line and stakes
- Shovel and spade
- Level
- Chisel and hammer
- Wheelbarrow
- Tamper
- Protective gear (gloves, safety glasses)
Having these tools on hand will facilitate accurate measurements, efficient excavation, and precise stone placement.
Step-by-Step Construction Process
1. Site Preparation
Begin by clearing the designated area of vegetation, debris, and loose soil. Mark the staircase's path using stakes and mason's line to ensure alignment and slope consistency.
2. Excavation
Excavate the tread area for each step, ensuring a flat and stable base. The depth of excavation should accommodate the stone's thickness plus a 2-to-3-inch layer of compacted gravel for drainage.
3. Base Installation
Lay a geotextile fabric to prevent weed growth, followed by a layer of crushed gravel. Compact the gravel using a tamper to create a solid foundation for each stone step.
4. Stone Placement
Position the first stone at the staircase's base, ensuring it is level and securely seated. Proceed by placing subsequent stones, maintaining consistent rise and run measurements. Use a level to check each stone's alignment, and adjust as necessary by adding or removing gravel beneath.
5. Backfilling and Stabilization
After setting each stone, backfill behind it with soil or gravel to prevent movement. Compact the backfill material to enhance stability. For added security, larger stones can be embedded deeper into the slope.
6. Finishing Touches
Once all stones are in place, inspect the staircase for uniformity and stability. Fill any gaps between stones with smaller rocks or gravel to create a cohesive appearance. Consider planting groundcover or moss between steps to enhance the rustic aesthetic and aid in erosion control.
Maintenance Tips
To ensure the longevity of your rustic stone stairs:
- Regular Inspection: Periodically check for stone displacement or erosion, especially after heavy rainfall.
- Debris Removal: Keep the steps free from leaves, dirt, and organic matter to prevent slippery surfaces and decay.
- Vegetation Control: Manage plant growth around the stairs to maintain clear and safe passage.
By adhering to these maintenance practices, your stone staircase will remain a durable and charming feature in your landscape.
For a visual demonstration of building natural stone stairs, you might find this video helpful:
Originally published on October 26, 2018.


